A Quick guide on how to enable the disabled / Non-Clickable “Start Verification Button” during Facebook Business Verification
Oftentimes, the Facebook business verification button is greyed out / disabled / non clickable. Here is a step-by-step process to enable the Facebook Business Verification Button in your business manager console.
Step 1: Go to Facebook Developers page (https://developer.facebook.com) & login with your Facebook Business Manager account. For this, you must have admin access.
Step 2: Click on ‘Get Started’ or ‘My Apps’ on the top-right corner
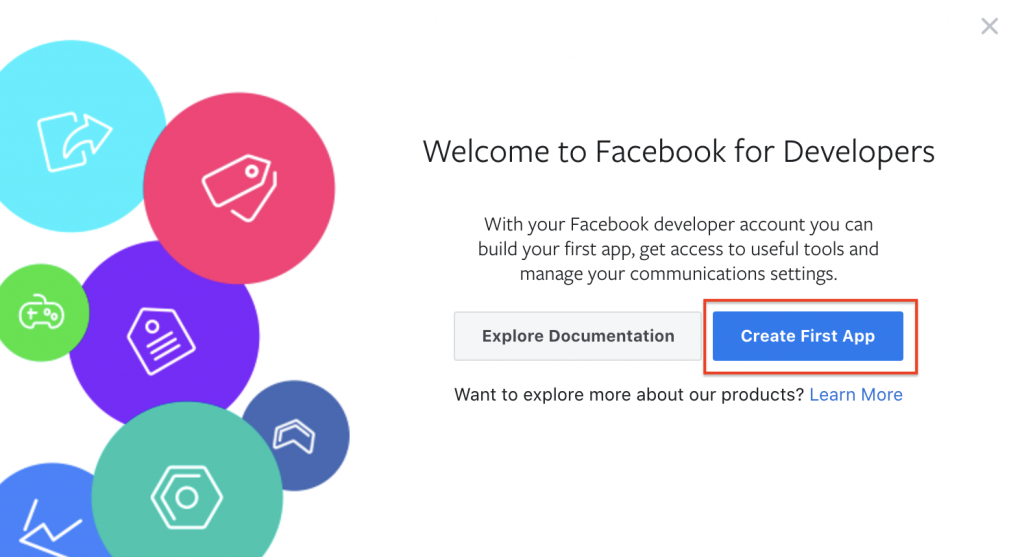
Step 3: Click on ‘Create First app’ as shown below: –

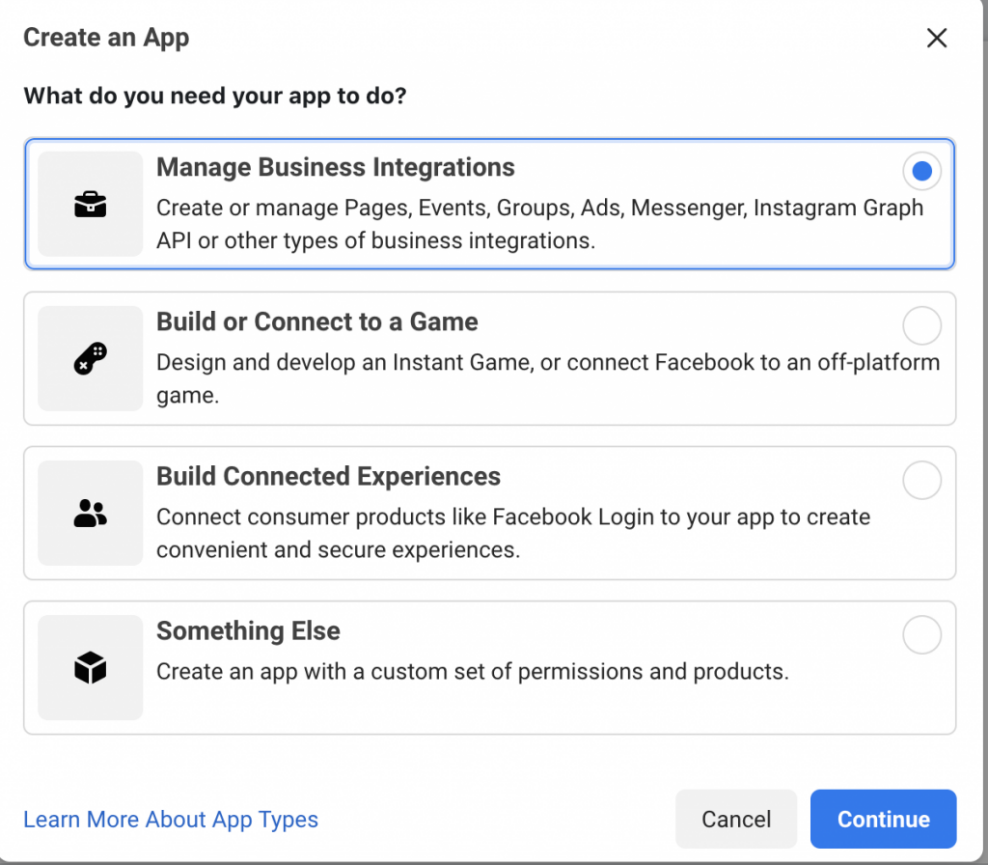
Step 4: Select any option which is applicable, from the next pop-up and click ‘Continue” as shown below: –

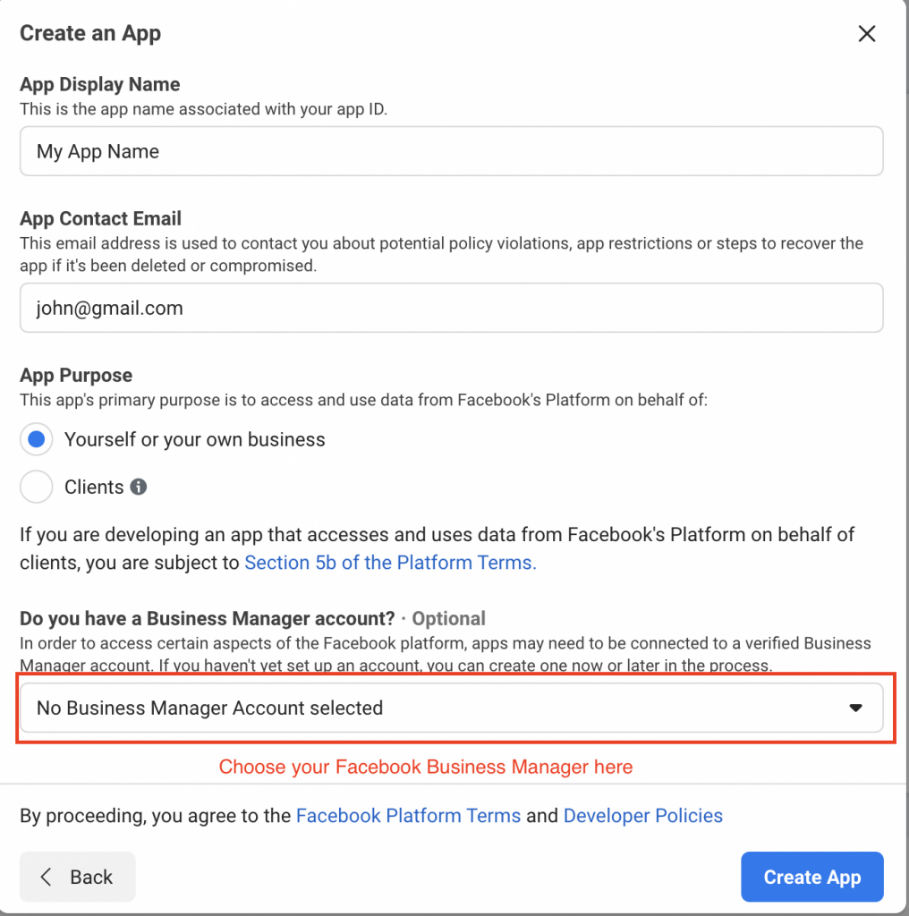
Step 5: Add your app name, email address and purpose. Choose your Facebook Business account from the dropdown.
Note that this is important. Click on “Create App” as shown below: –

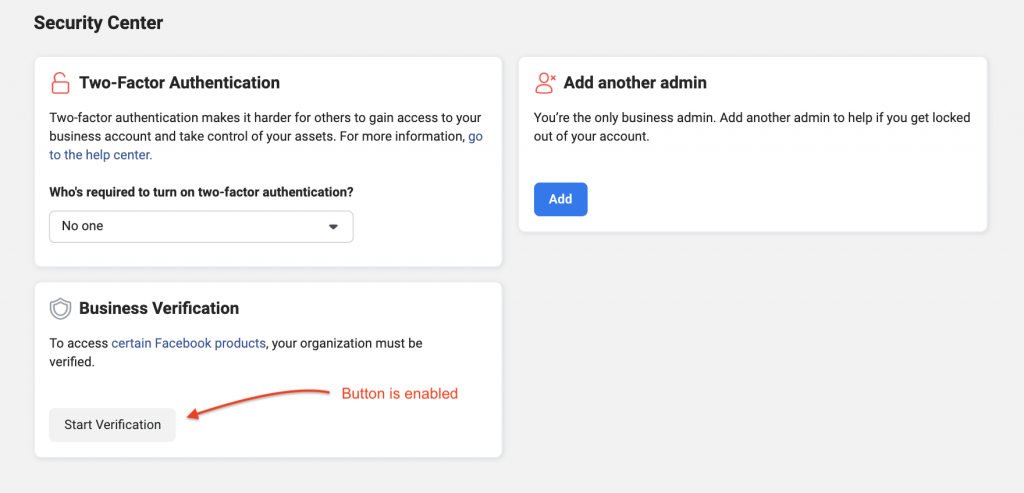
Step 6: Congratulations! You’re done. You can come back to ‘Security Centre’ under business settings in the Facebook Business Manager. The ‘Start Verification’ button shall now be enabled as shown below: –


