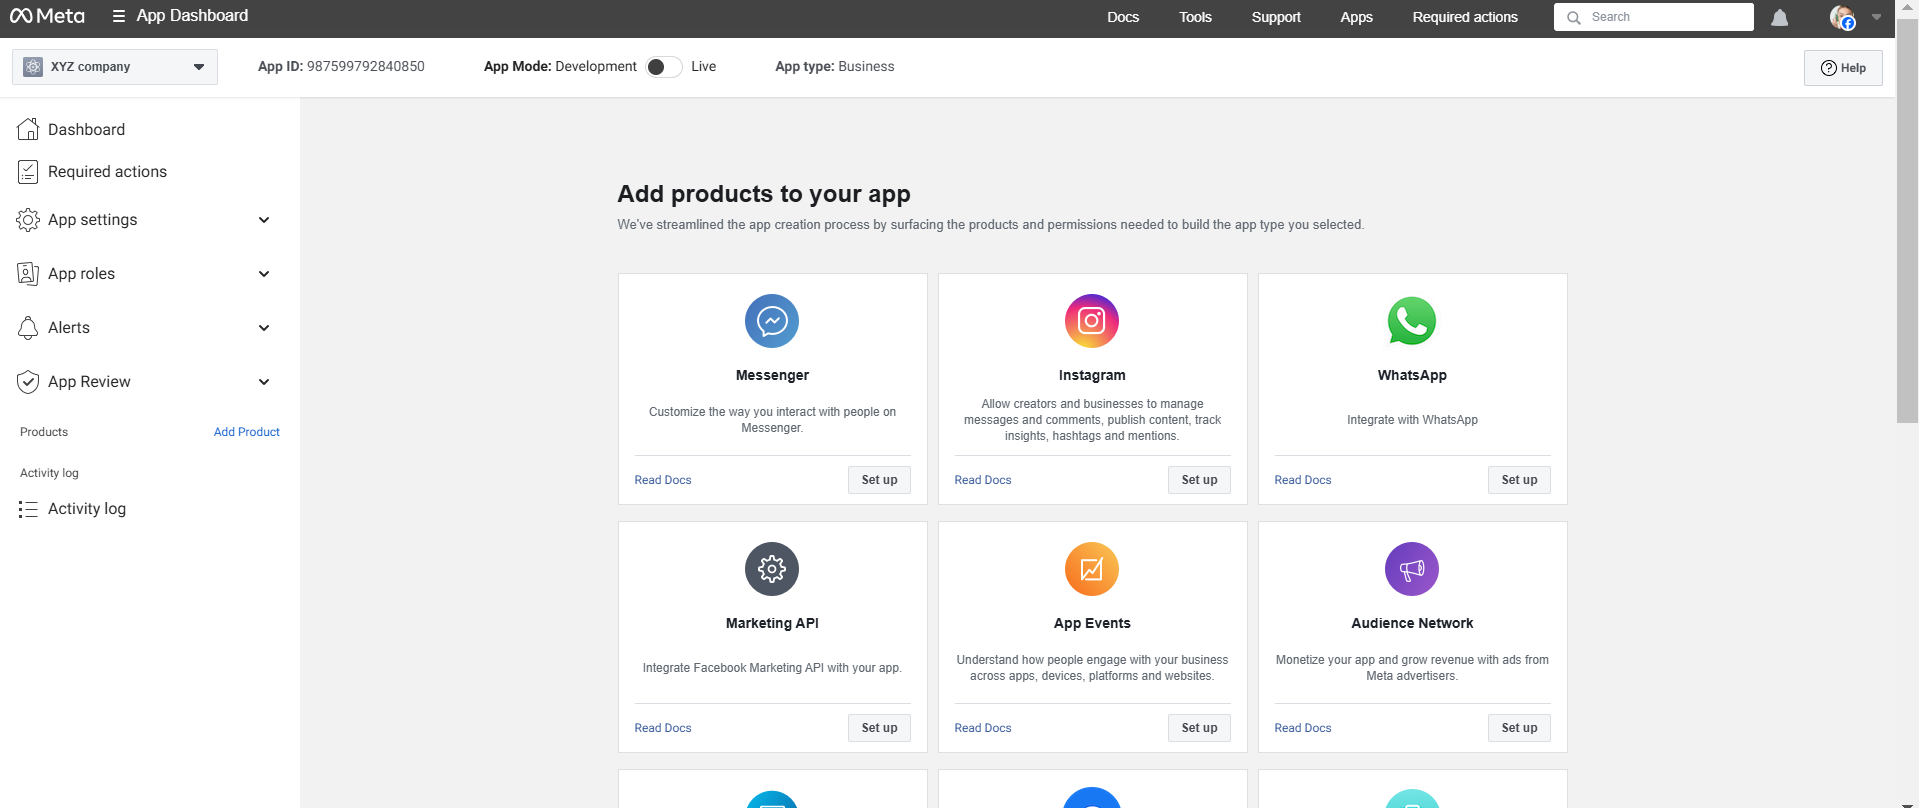
If you’re attempting to verify your Facebook Business Manager account but notice that the “Start Verification” button is either greyed out or nowhere to be found, don’t panic! This is a typical problem, and it’s typically due to your Business Information not being filled out. Take a look at the steps below to fix this problem and activate the “Start Verification” button.
Why Is the “Start Verification” Button Greyed Out or Gone?
If your Facebook Business Manager Business Information is not filled in, you can expect to face one of these problems:
- The “Start Verification” button is greyed out and unable to click.
- The button simply isn’t present on your dashboard.
To correct this, you will need to complete all your business information properly. Here’s how:
Steps to Enable the “Start Verification” Button
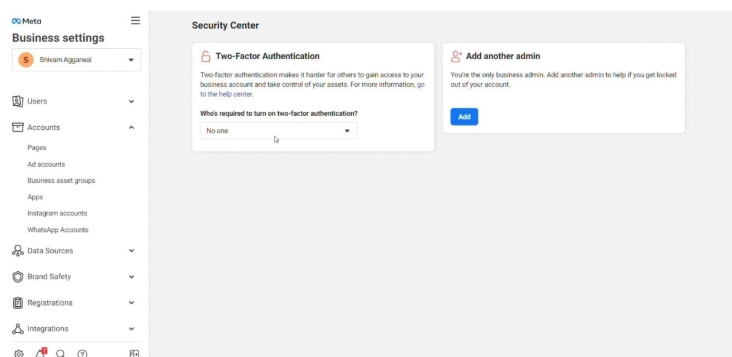
Step 1: Visit Facebook Business Security Center
If you do not see the “Start Verification” button, continue with the following steps.

Step 2: Link Your Facebook Page to Business Manager
- Visit Pages in your Business Manager account.
Add your business’s Facebook Page.
Tip: You need to be a page admin to continue with verification.
Step 3: Visit Apps
- Click on Apps in your Business Manager dashboard.
- If the “Create a New App ID” button is not available, hover over it and click “Confirm Account” to make it available.
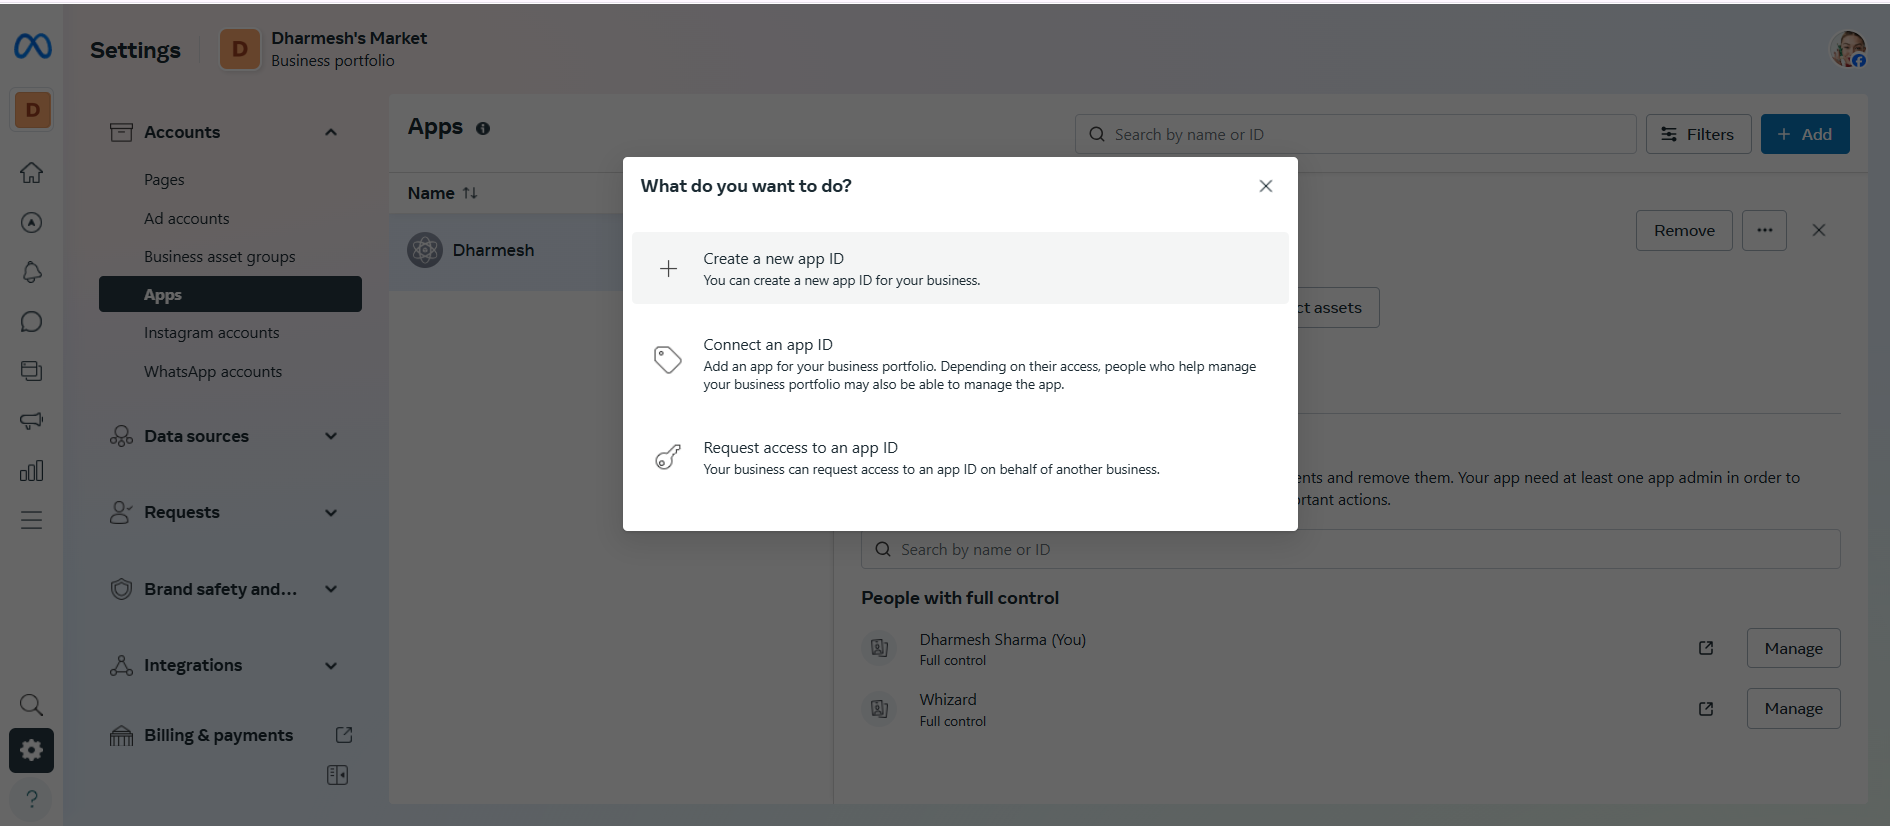
Step 4: Confirm Your Account
- Click Continue to confirm your account.
- Accept the terms, type in your business email, and choose your role (e.g., Owner & Founder).
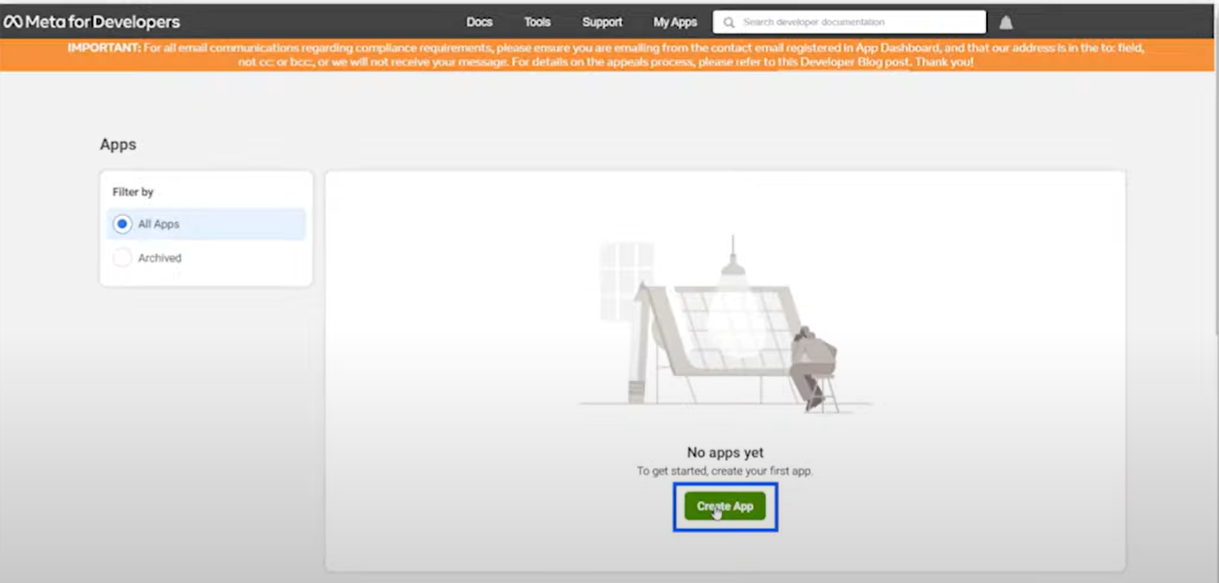
Step 5: Create an App
- Click Create App and select the app type that best suits your business (e.g., Business).
- Add a Business Display Name (this is the app name, not your final business name).
- Enter your email and confirm your Facebook password.
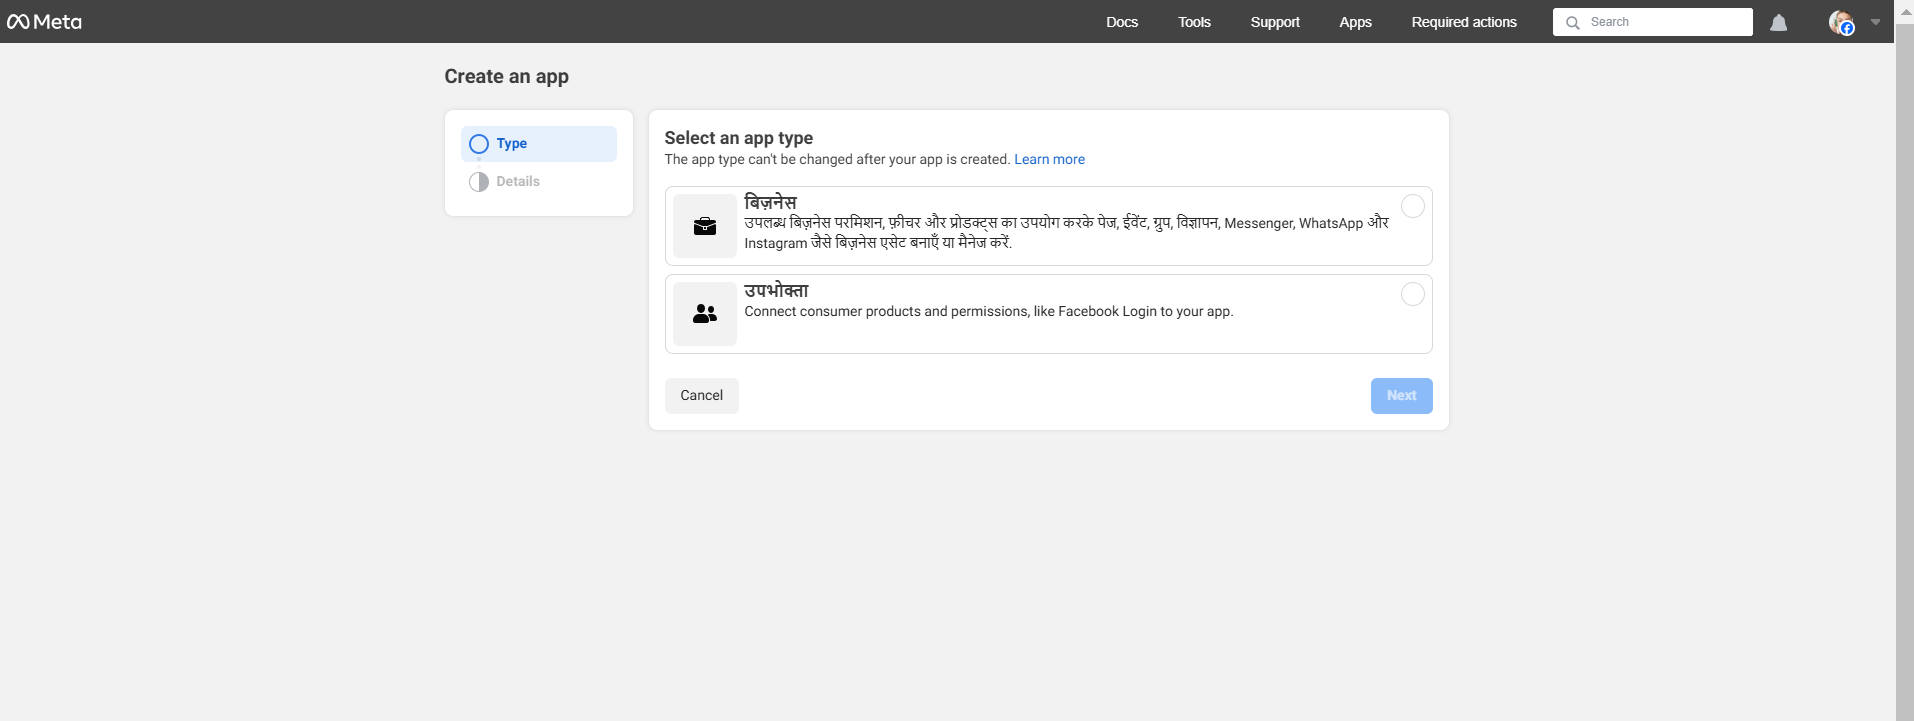
Step 6: Choose App
In this step, choose the App type that fits your business.
We’ve chosen ‘Business’ (recommended).
Once you choose the app type, click ‘Next‘.
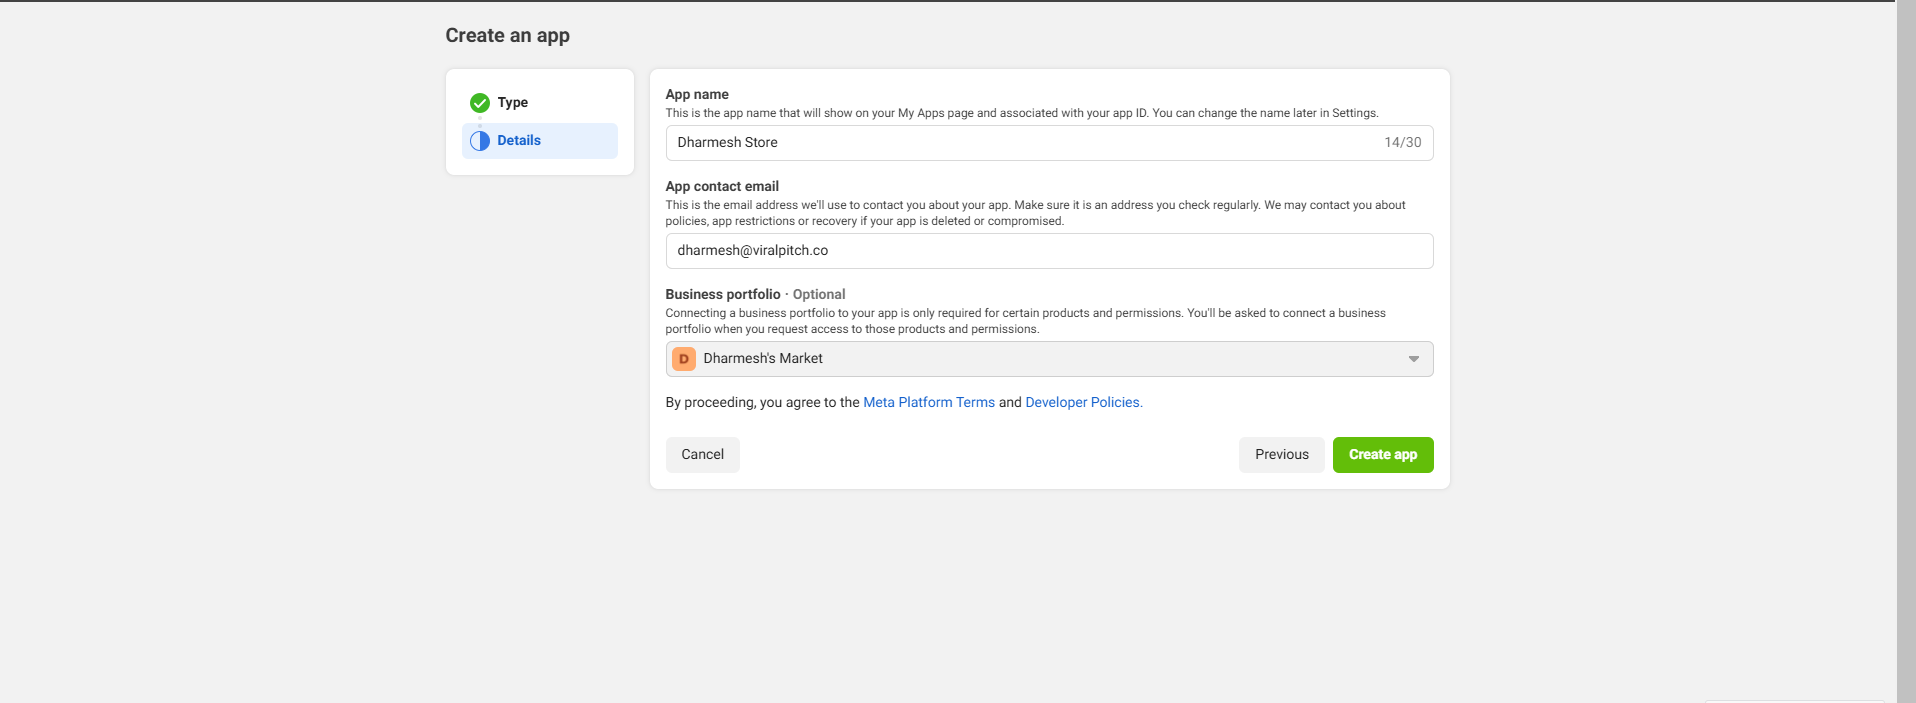
Step7: Add Business Display Name
Here, add the Business Display name.
This isn’t the final Display Name of your Business. It’s the app name associated with your App ID.
Once you do this, add your email address & press ‘Create App‘.
You’ll be asked to add your Facebook Password. Confirm it & you’ll be redirected to another screen.

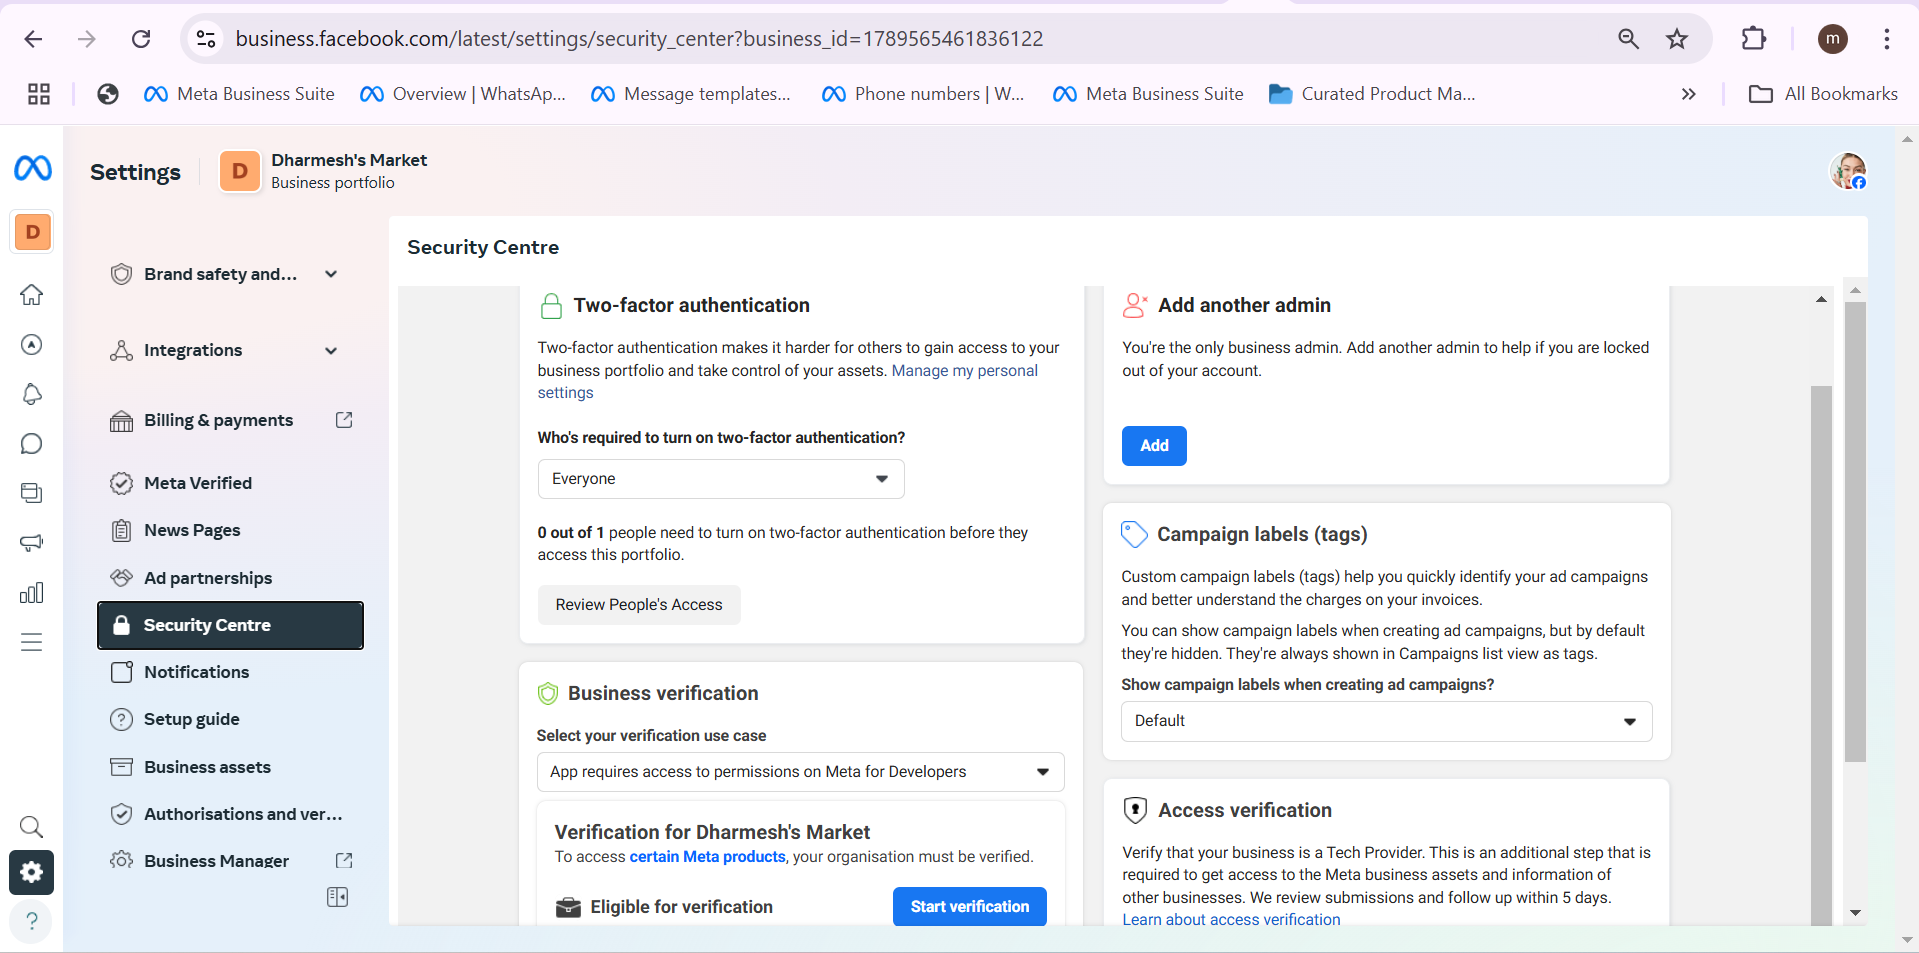
Step8: Your app has been created
After creating the app, go to business.facebook.com/settings and click on “Security Center“.
Refresh the page & your “Start Verification” button will be visible.
If the start verification button is still not visible, simply follow the steps mentioned below
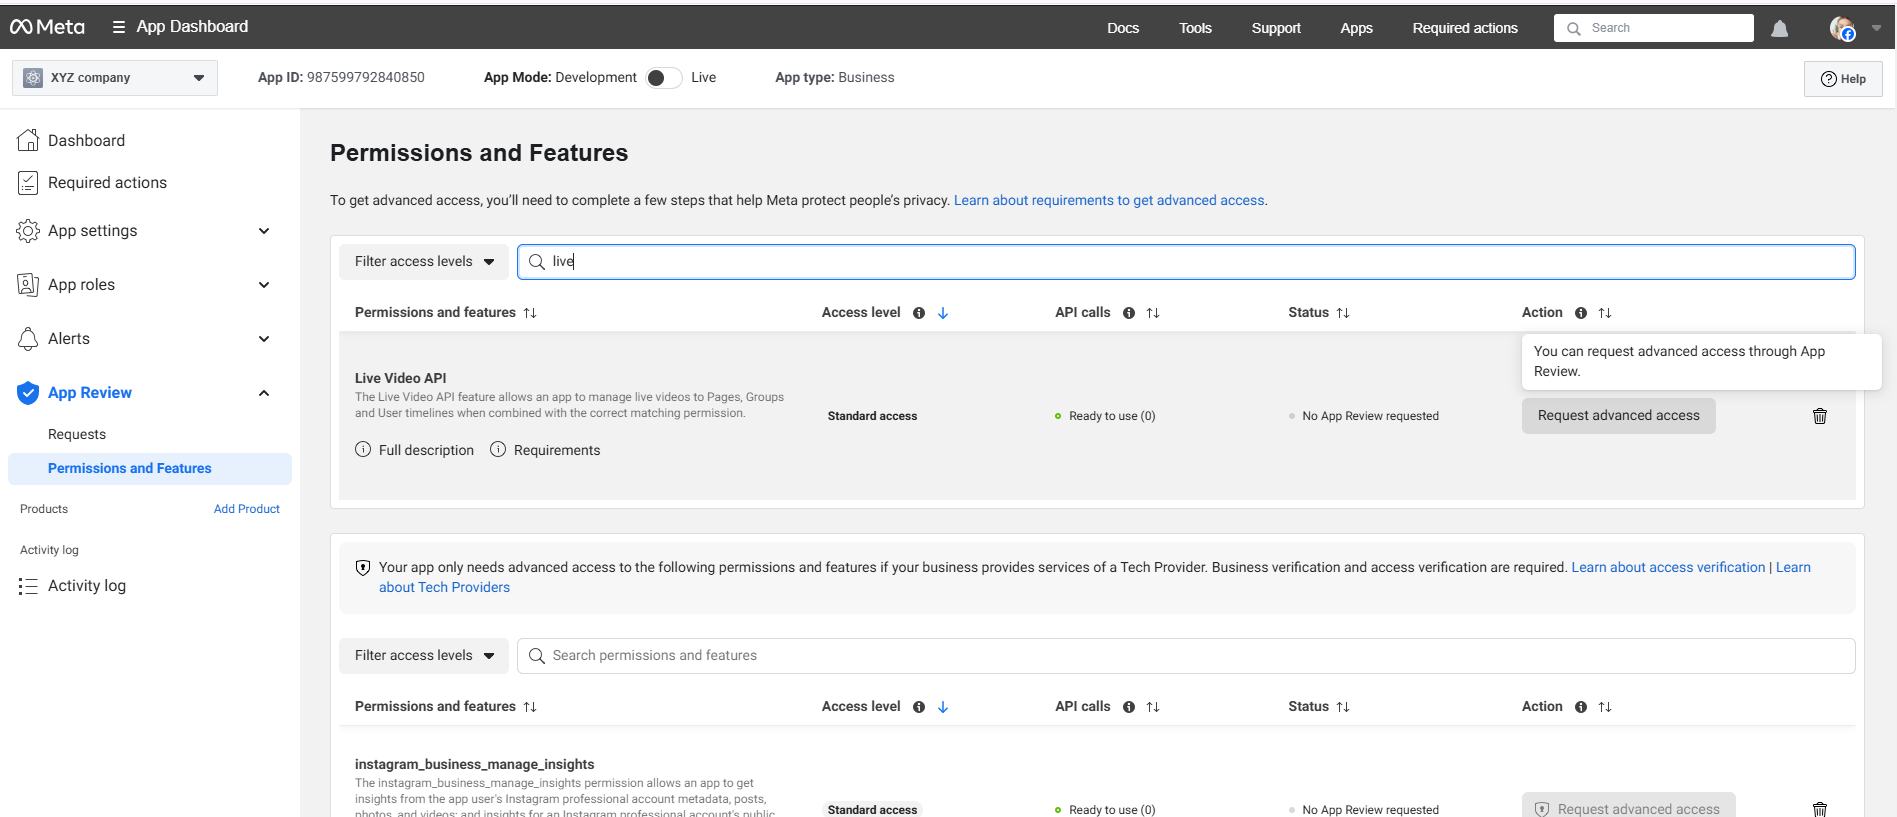
Step 9: Go to App Review
